Monday, January 9, 2012

 A Peek at some Projects.

I've been wanting to get my house more organized for awhile...crafts, Tupperware, pantry, etc.  Shannon gave me some great tips and I've been looking at ways I can organize things.  I'm going to do a whole blog post on some fun things I've found.  Last month we organized the pantry, bathroom cupboards, Tupperware, and some kid craft supplies.  I'm excited to show you.


I grew up with my mom refinishing furniture and making our home beautiful.  She could find some of the most random things (I think my dad wondered about a lot of the stuff she brought it) but she always made them look so amazing afterward.  We have been living in apartments for the last few years and had to get rid of a lot and I could never buy many furnishings because we didn't have the space.  It's been so fun to have my sis and mom here to help me decorate the house.  These are the projects we've been working on:

-Nightstands.  Added some black glaze to Annie's pink night stands (I bought at a flee market)
-Shopped.  Bought a little dresser and cool antique night stand from the salvation army.  I also went to Home Goods and Cost Plus World Market (thanks for the suggestion Christie) and found a bath mat, towels, and a shower curtain.  At a thrift store we found awesome candle holders (I'm going to paint them) and a beautiful vase.
-Moved Toy Room.  Switched the toy room from the entrance front room to the back half of the living room.  It looks great.  Pics coming soon.
-Rearranged and added furniture.  My sister and parents have been storing furniture for me at their homes.  When they found cool things from thrift stores, they would send me a picture text and ask if I wanted it.  Now we have a lot more furniture in the house...and  lot more work to do!
-Parks' Crib.  Went to Jenny's fabric, in Fountain Valley, and got some darling material for Parks' room.  My mom sewed all his bumpers and pads together on his crib.  She got a stain pen to clean up all the scratches on the crip-looks amazing
-Toy Room Piece.  Went from a throw-away piece to a show piece thanks to Mom and Heidi!
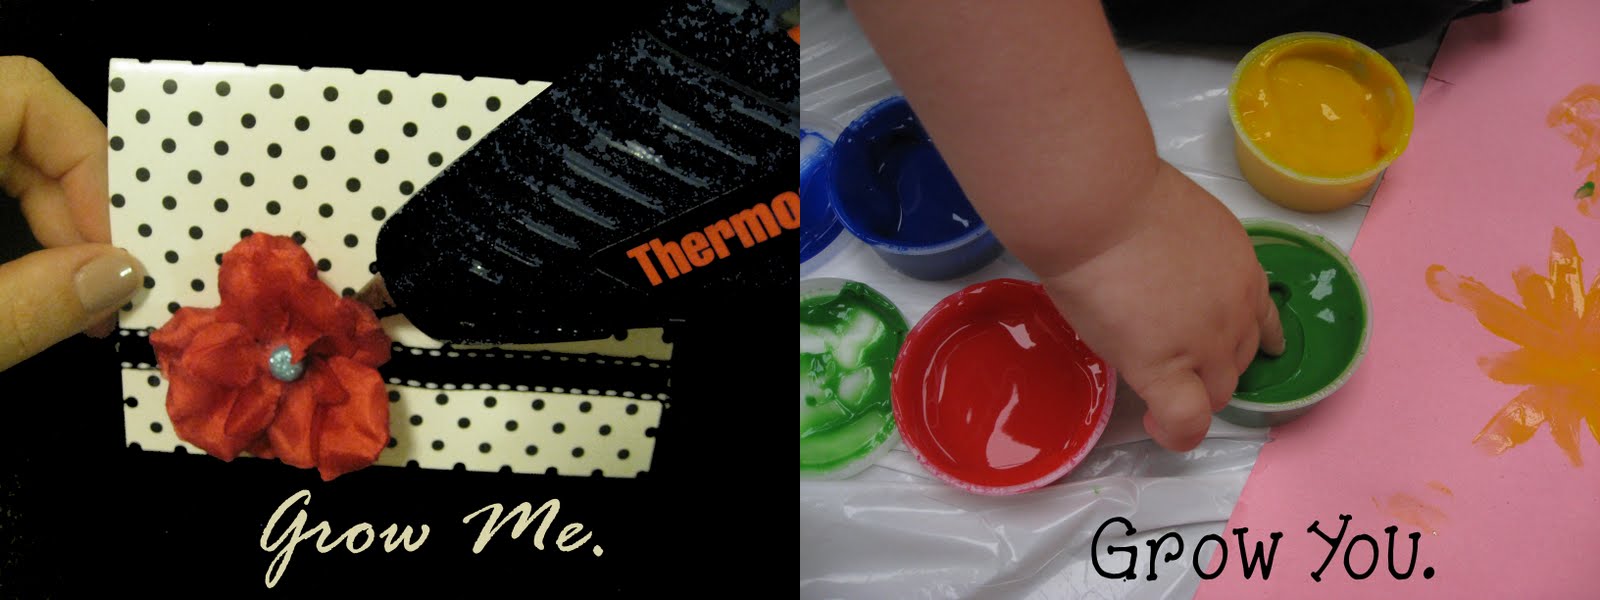
-Crayon Art.  I'll take a pic.  We melted crayons on a canvas for Parks' room-turned out awesome.  Apollo got in on the action and made one for his room too.
-Piano.  My great grandma gave me a piano that she got when she was six years old.  We tried cleaning in up a bit-still needs tons of work!
-Desk.  My parents brought me a vintage, roll-top desk they found.  My mom glued and fixed some of the drawers.
-Molecule Mobile.  Carleton bought a vintage molecule set that I put together.  Now we'll hang it up over his crib.  He'll love all the colors.

Years ago I found this storage piece?? Not sure what it was.  Carleton thought it was a shoe rack from some bowling alley.  I got it for $15 (Carleton was not excited).  Somehow it came through every move with us.  Carleton didn't want it in our house.  My sister added wood, molding, and rollers.  They stained and sanded it.  Looks like a piece from Restoration Hardware now!


Here are Annie's nightstands that were glazed and wiped.  They look so pretty in her pink and black room. 


I learned so much about refinished different pieces.  I'm exited to show you the finished pieces and share what I learned.

Wednesday, December 14, 2011

O Christmas Tree.


 We love our huge, great smelling tree.  It looks beautiful from the inside and from the road.  We all had a fun time decorating and welcoming it into our new home.  The star we used is just an ornament from the dollar store.


 Every year I have some sort of theme for the presents.  I think next year I'm going to do vintage wrapping and tags.  This year I went black and white with some red ribbon.  It looks amazing under our silver, white, and glass decorated tree.


Dollar store ornaments!!  I could not believe the incredibly beautiful ornaments at the 99 Cents Only store.  We got some huge, beautiful ornaments that make for an expensive looking tree.  I liked them better than what Martha Stewart has this year...I actually think they're the prettiest I've seen.  I just had to share this great find.


Wednesday, December 7, 2011

Christmas Beautiful.

We were at my sister Heidi's house over Thanksgiving and she had her house decorated for Christmas.  She has the most beautiful house - she's also the best decorator I know.  She buys beautiful things for her home but she also buys things from thrift stores and makes them look like they are very expensive. 


She painted this armoire red and rubbed some black glaze over it.  I was with her when she bought it and I can't believe the difference!!  She also painted the knobs black.


For breakfast, Heidi had a beautiful spread.  She got a bunch of these vintage milk containers, cleaned and bleached them, and put different drinks in them for breakfast-egg nog, orange juice, chocolate milk, and the Naked mango drink.


She has these trees in a corner, by their window.  They have a view of the whole valley and city.


Love this coffee table.


She made the coffee filter tree.  Click HERE to see how to make it yourself.  She also made a coffee filter wreath (on the same blog site) for her sister-in-law that just had twins.


I saw HERE how to make a coffee filter light.  We're going to put it in our white beach-themed bedroom.


Lindt chocolate.  Yum.


Like this funky gold deer.


Place Cards.  I found this idea online and wanted to share with you.  We had two Thanksgivings (one with Carleton's side of the family and one with mine).  These next two pictures were taken at my parents' cabin.  We found the pine cones here in CA.  For Thanksgiving, I left them the plain brown color and for Christmas, I'm going to dip them in red paint and make a garland.


Monday, December 5, 2011

Christmas Ideas.


We have been enjoying Christmas cheer since just after Halloween.  I want to share some of what we've been up to so hopefully you can use some of these ideas for decorating or crafting.


We spent Thanksgiving at my parents' cabin.  Beautiful trees and snow-gets you in the Christmas mood.  We all went shopping for my parents' and sister's tree...in the outdoors-we cut them down ourselves.  The kids decorated them.  Look at how beautiful these yarn balls turned out.  Yarn wrapped around Styrofoam balls. 


 Stained Glass.  these are a buck each at Michael's.  The kids put the beads in and they melt in the oven.  They come with little red ties to hang.


Etched Ornaments.  These also come from Michael's.  They sell a bunch in a pack for a dollar.  They come with little tool and words like "Ho Ho Ho" and "Peace" and the kids scratch in glittery, metallic designs.


 Decorated mini stockings.  They have these felt little stockings at Michael's too for yes...you guessed it...a dollar.  Annie used confetti, Christmas puff balls, stickers, and eyeballs to decorate hers.  Apollo and Annie's mini stockings are now hung on the tree.


"Stained Glass" projects.  This is one of my favorite Christmas projects from Michael's ($1).  They look so pretty with the light shining through.


Here are my little elves.  To make the kits, the kids glued the foam shapes to the front of the clear plastic and glued colored tissue to the backs.  Afterwards, they went back to the front to decorate.


Here are the projects out to dry.


 Oh Christmas Tree.  This tree was made with an ice cream cone covered in frosting and m&m's.  Cute idea, Shannon!


Tuesday, November 22, 2011


 Homemade Stockings from old Sweaters and Skirts.


I saw this picture  and thought it would be fun to make my own stockings from my old sweaters.  Here's what I did:


 1.  Made a pattern.  I got one of my knee socks and traced around it to make a big pattern (there are a lot of free ones off the internet you could just use).  Thanks to Carol, she helped me get started.

2.  Cut and sew right sides together.  The striped stocking below is mostly of the arm of a sweater.  The two on the right were from old skirts and have a zipper running down the backs.


 3.  I used fusible webbing (had never heard of it before this project) to add a little stiffness to the stockings.  I just asked the JoAnne's worker about it and bought some.  No sewing required, just cut and iron!


 4.  Decorate.  Click HERE for tutorials on how to make the flowers below.
 

Click HERE for a tutorial on how to make this flower.  I used this to cover up a problem area on my stocking.