Showing posts with label Tutorials. Show all posts

Sunday, November 4, 2012

Halloween Ideas.

This post would have been more helpful a couple months ago but I hope this inspires you for ideas for next year.  Halloween deco goes on sale so it's a perfect time to purchase some pumpkins to glitter next year.  I got a lot of my Halloween deco from thrift stores.  They have some beautiful items for cheaper and sometimes all they need is some paint, colored corn syrup, or candy to make it a perfect Halloween decorative piece.

Glittered Pumpkins.

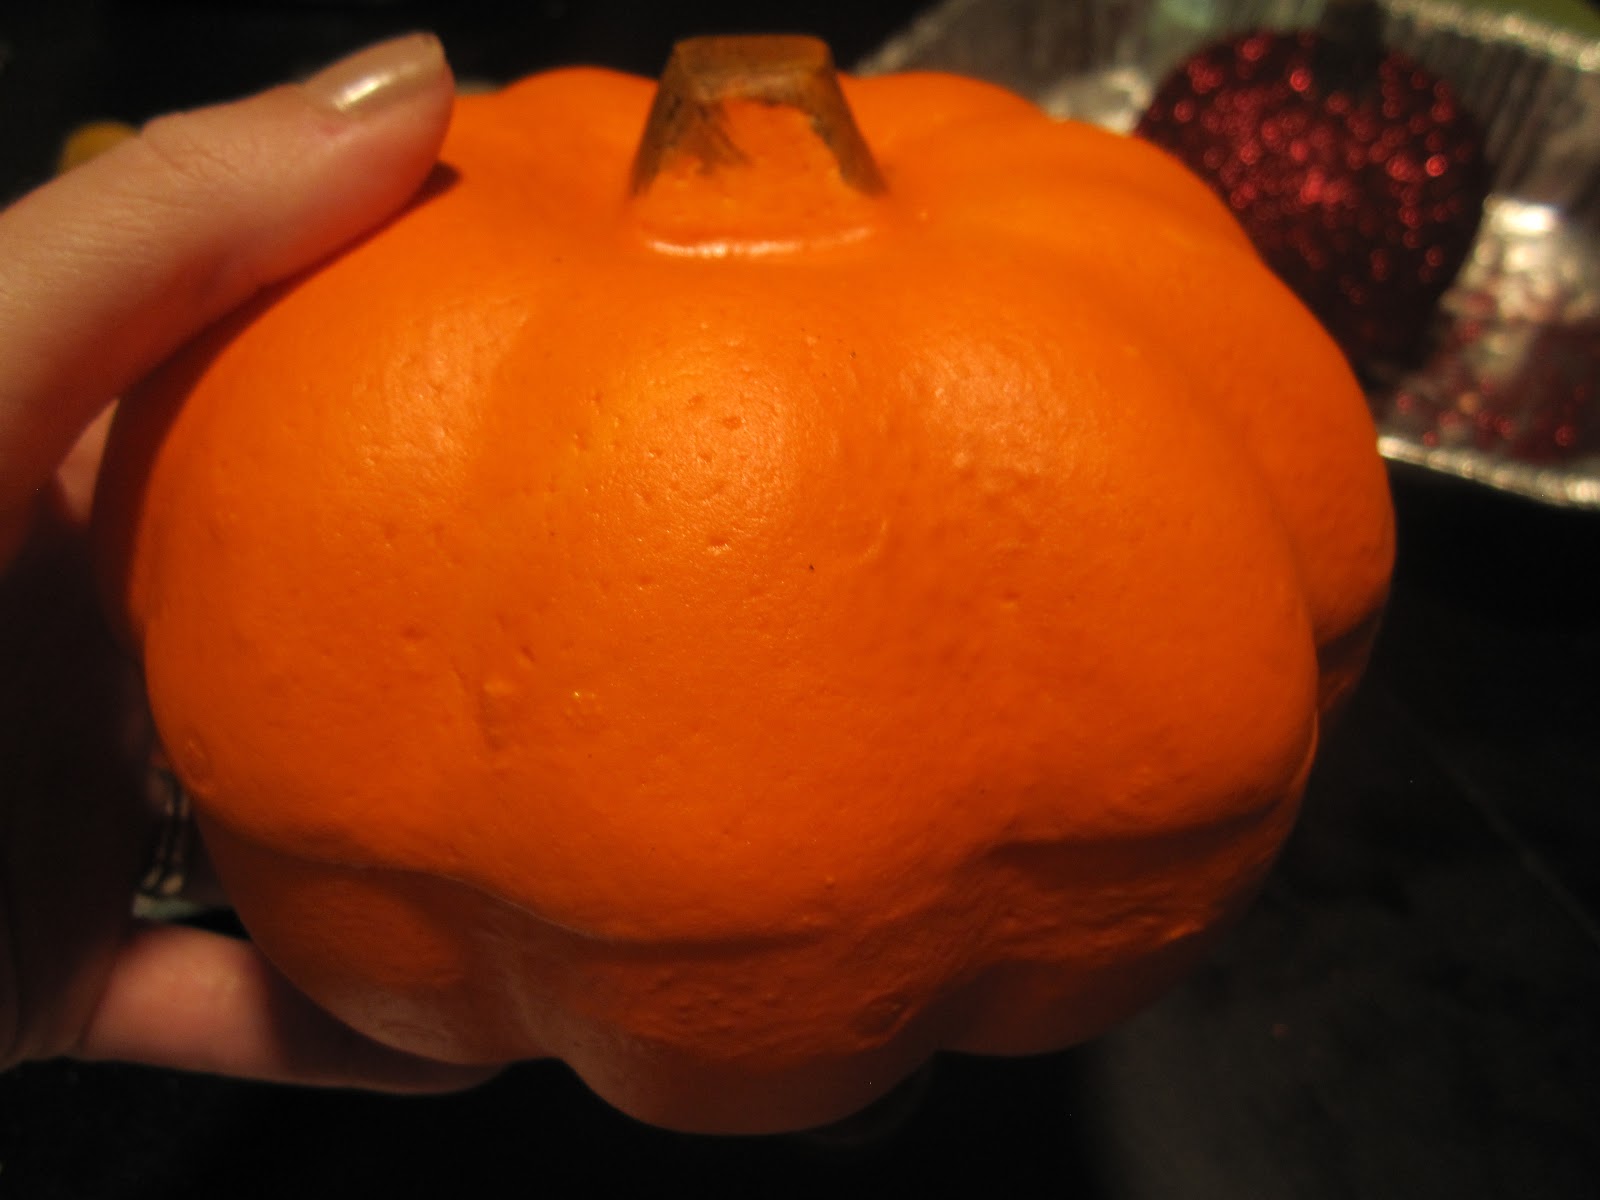
I found some pumpkins around the house ( I think I purchased them after Halloween so I got a good deal).  Some had holes in them so I filled them with wood putty.  I brushed Modge Podge (Elmer's glue would work) over the pumpkins and sprinkled glitter on them.  I love the silver trays I got from the dollar store for my preschool kids...still use them for our projects.


I had two of these pumpkins that I bought in an after holiday sale.  I did one gold and one silver.  I painted one stem brown and the other black.  I think the black stems add a lot.


After.


Bought this one at the dollar store.  Here is the before.


Here it is in a couple table settings I made.  These I spray painted and the blue one I added some clear crystal glitter.


DIY Platter.  I bought a microwave dish and a glass ice cream sunday dish from the thrift store.  I used glass glue (that you can put in the dishwasher afterwards!) from Home Depot to glue them.  I sanded the glass, spray painted them, and put on a shiny sealant.  I used it in the table setting in the above pic.


I found this bottle at a thrift store.  We filled it with corn syrup and purple dye.  The kids had a blast making "potions".  We made a darling one for Carleton's work...a bunch of test tubes.  I used my label maker to label them.


Here are some other pieces I put together.  I found items from thrift stores, a close out sale from Thai Pan Trading in UT, and the Dollar Store.


We took a Jeep ride through a forest in ID with my parents.  We found an area that had bright green moss growing on the trees (the kids thought they looked like brains)  I got a bunch of sticks to bring home.  Keep your eyes opened this year!


Cute Invite.  It has a little insert not "forgetting" the party.


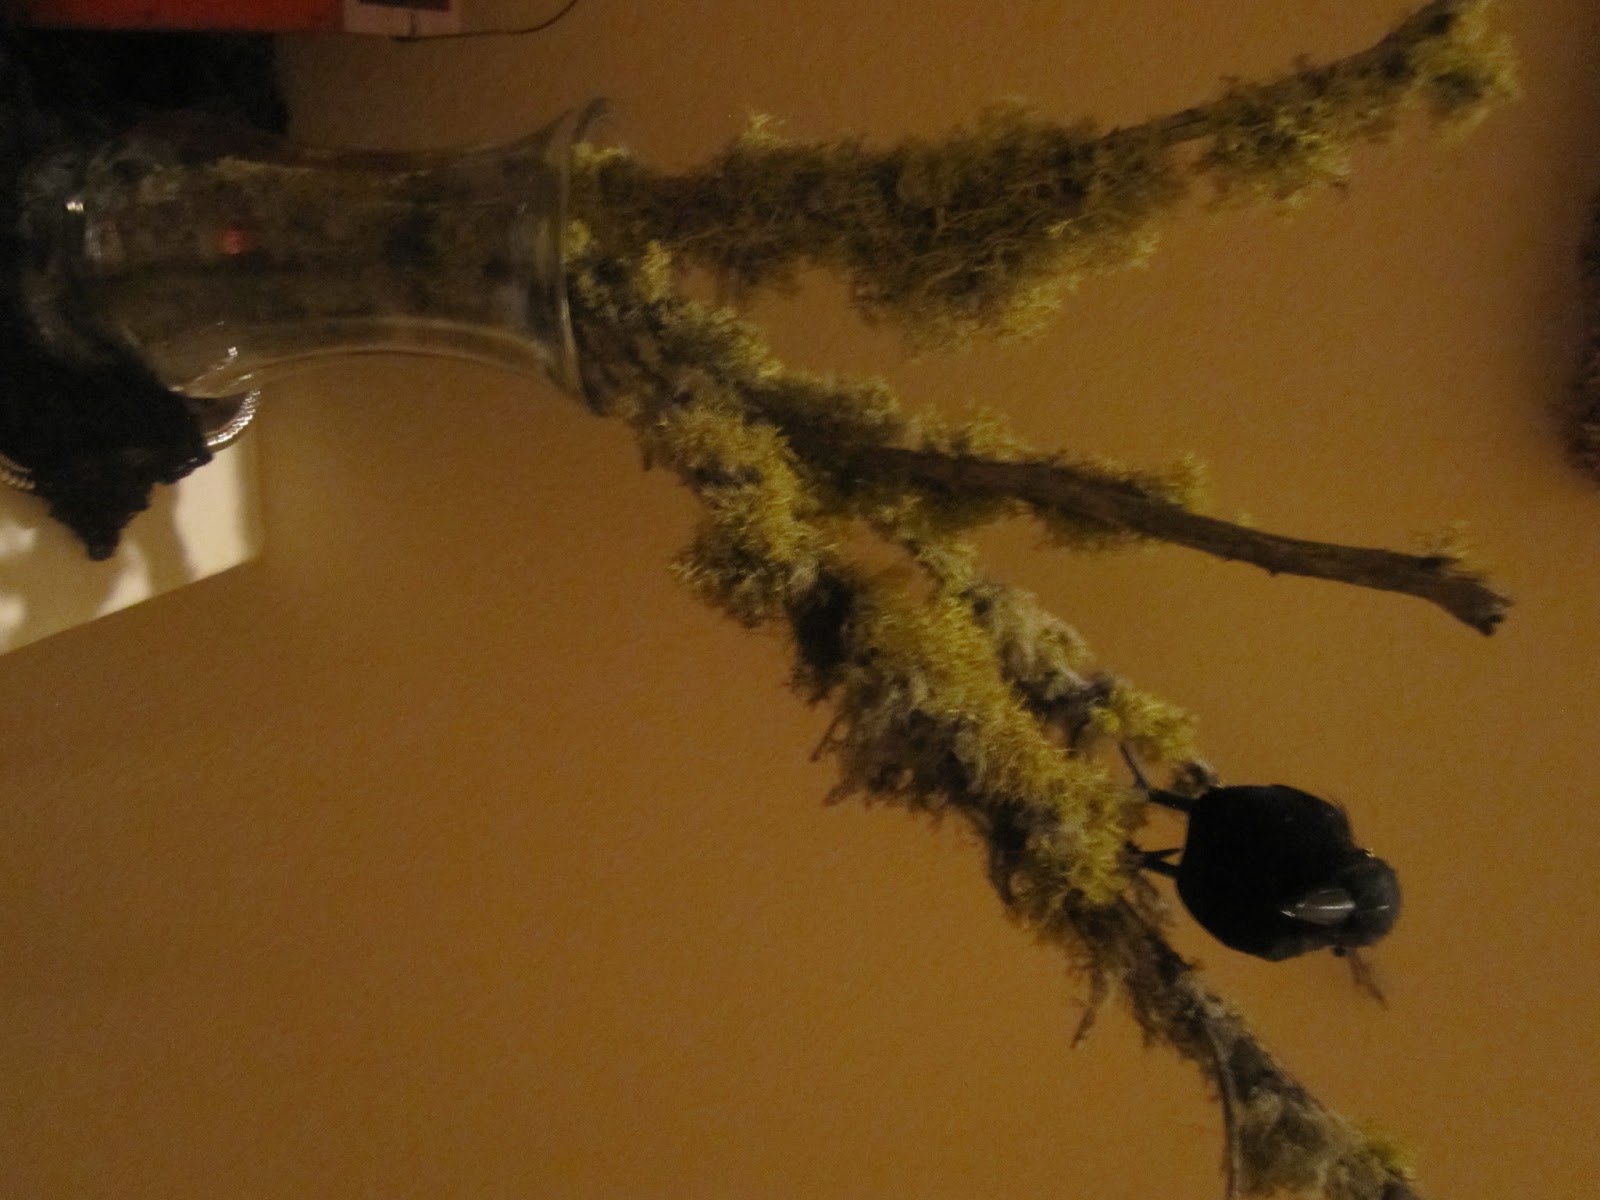
Bloody Candles.  Just melt red candles over white candles.  I bought this ivy candy holder from the thrift store and spray painted it black.


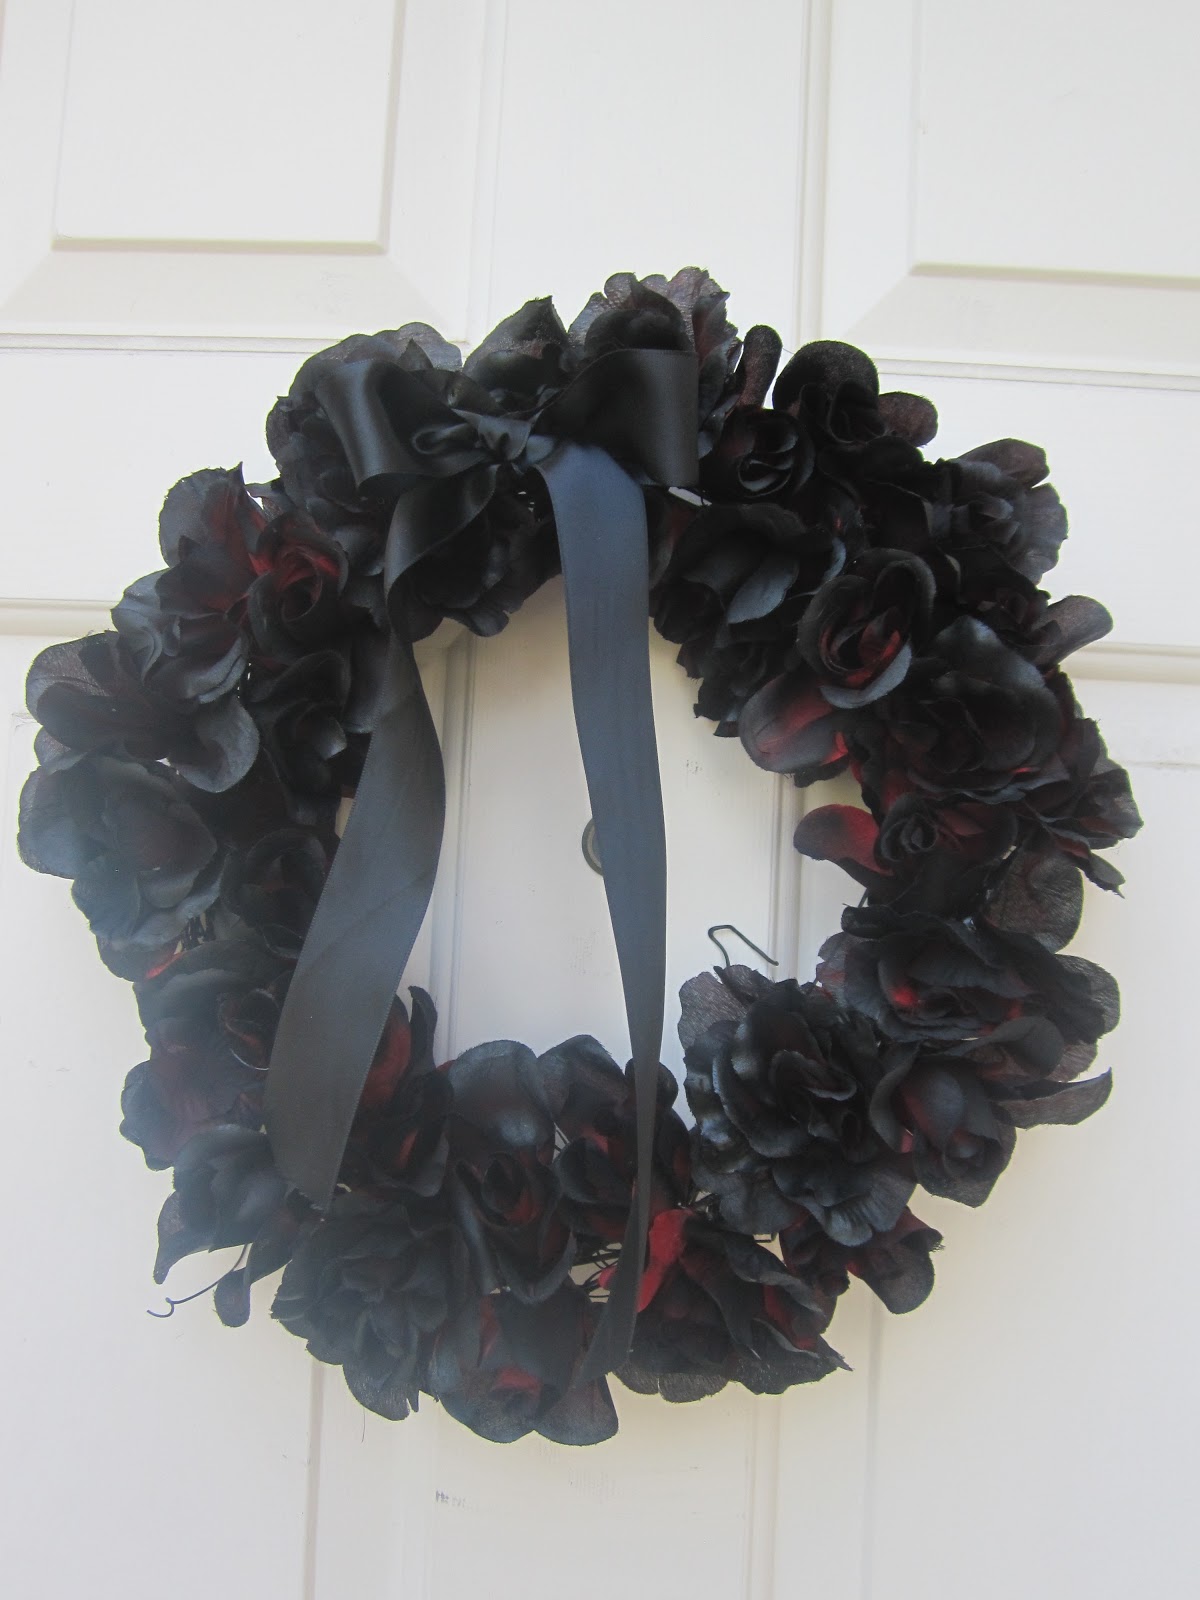
I bought a wooden vine wreath from the dollar store.  I glued red roses into the wreath and then spray painted the whole thing black (still leaving the red showing...looks cool).  Lastly, I glued a bow and hung it on my door.


You have a whole year to put together your decorations for next year.  Enjoy!


Monday, May 7, 2012

DIY.  Painting on glass.


I bought this $4 brown, glass vase at the Salvation Army it transformed into a beautiful sea-blue vase.  I see things like this at stores for a lot of money.


 A little scratched up looking.


Here's how if you want to give it a try.  I loved it so much I'm going to do a lot more of it.  

Step 1...Prime it.  I used a gray (just because I had some left over from another project but you usually try to match the paint color you'll be using)-the Rust-oleum brand where you can paint on plastic too.  I did very very light coats and did a few coats until it was solidly covered.  It looked like this in the beginning.  Make sure you are a distance away and spray continuously.


This is what it looked like once it was covered with primer.                        


 Step 2...Spray paint.  I used Rust-Oleum's Painter's Touch Ultra Cover.  It was the satin aqua color.  Any spray paint should work (Krylon's not my fav).  I did some light coats until it was covered well.


 Step 3...Seal it.  Rust-Oleum Painter's Touch Ultra Cover Gloss Clear is good (it also bonds to plastic) to give the piece a glossy appearance.  This also keeps the paint from chipping.  I sprayed a few coats until it was shiny enough for me.


Sunday, April 29, 2012

Making Cheap Frames look Great.

I looked everywhere for a gray frame for Parks' cute picture to complete his room (was even willing to spend a little money) but couldn't find one I really liked.  I found a wooden one at the dollar store.  I found some black 8 x 10s with an ugly gold strip around it there too.  With a little tlc, they all turned out great.

How to fix up frames:

1.  Buy a cheap frame from the dollar store...thrift store...garage sale...or use one you have in your house you can fix up.  I took out some pictures from frames of the Twilight cast I had put in months ago for a Twilight party.


 2.  Take out the glass and sand the frame.  Even if it's not wood-just rough up the frame so the paint can stick to it...ceramic, metal, what ever.


3.  Prime. I used a spray primer on all my frames.  I had gray so used it on all of them (even though four of them were going to be painted orange).  I like the Rustolium brand and am not a fan of Krylon.  They have Rustolium that sticks to plastic so buy that if you're working with plastic.  I'm always asking the Home Depot workers for help and they've always given me good advice.

Make sure you do light sprays (otherwise you'll see drips if you spray it on too heavy) and give them time to dry in between coats-I did two coats.  The can gives you directions for each brand.


 4.   Paint.  I did a couple coats of spray paint.

5.  Glossy Sealant.  I got a clear gloss spray to make them shiny and seal in the paint.  If you skip this step, the paint will chip easier.  I like the shiny look.

Here's how Apollo's orange (I don't even know what the material was) and Parks' gray frames (was just a plain wooden frame) turned out:


Sunday, March 25, 2012

 DIY Silhouette Paintings.

This is my mom's brilliant idea.  She came for Parks' birth and Christmas and while she was here did a lot of house projects.  She thought it would be fun to add a little of Carleton into a room.  


This is how we did the bike paintings:
1.  From left to right - Light source. Bike.  Canvases.  We propped up Carleton's bike in the garage (it's dark)in the middle with a lamp (without a shade-a flashlight would work well too) on one side and a canvas on the other.  I moved the light around until a cool shadow formed on the canvas.  Just move the light as close to the object as you want until the shadow comes clear on the canvas.  

2.  With pencils, outline the silhouette that is made on the canvas.

3.  Paint. 


 Here's a close up.


 Mom went home and did the same thing with her geraniums.  She painted her bathroom gray and added her geraniums in this pretty yellow.  She wants to try some other silhouettes too.  I might do one of Carleton rock climbing.